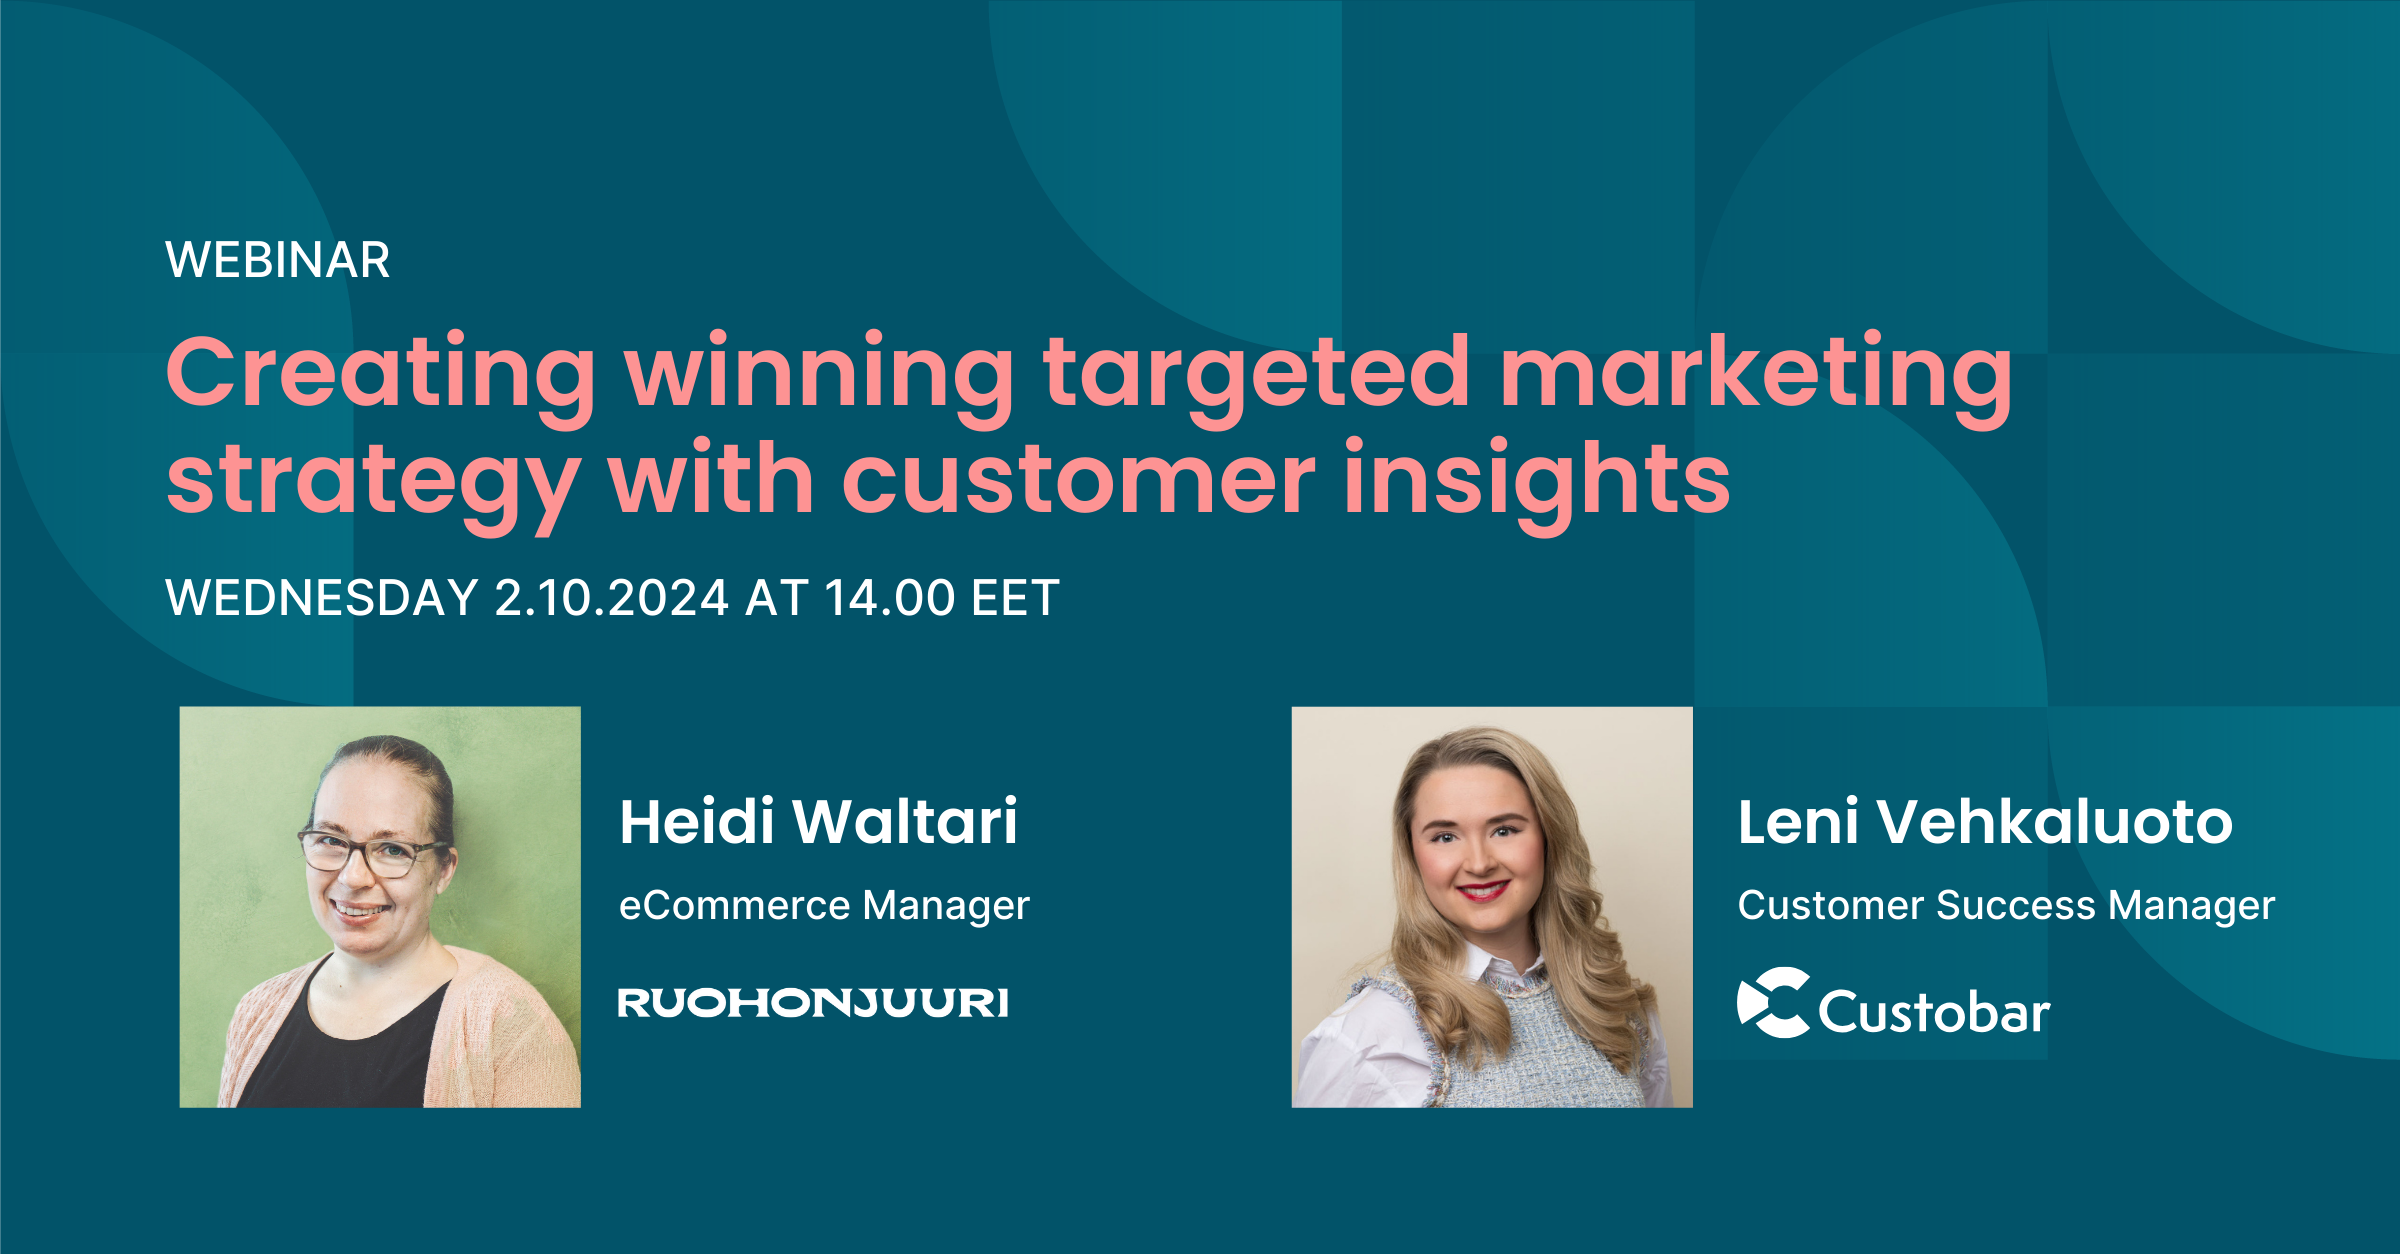
Creating winning targeted marketing strategy with customer insights
Are you ready to transform your marketing strategy? Watch an insightful webinar with Ruohonjuuri, tailored specifically for e-commerce and omnichannel retailers.

Are you ready to transform your marketing strategy? Watch an insightful webinar with Ruohonjuuri, tailored specifically for e-commerce and omnichannel retailers.

User guides
Welcome automations are an important step of a comprehensive customer journey. As you will see in this short guide, the benefits are multiple and the steps required are very few.
A welcome automation is a message or a series of messages sent to customers who have subscribed to your newsletter or have just engaged with your brand for the first time.
This first step in the customer journey serves several important purposes:


There are several ways to set it up in Custobar. One example is a multi-step journey which is more involved, but will give you a more personalized experience. This is detailed in our welcome Flow journey for new customers.
Here, we will cover how to set up the simplest welcome automation which ensures you get something up and running in no time!
First we need to define the trigger that will start the process. As explained above, we can start the welcome automation from a number of triggers: A Mail subscribe Event, a first purchase, an Order confirmation sent out. Take your pick, there is no rule here, your goals will dictate the right trigger.
On a technical level, we can differentiate a couple of ways to set up this trigger:
The first trigger scenario is pretty self explanatory: The Customer profile received a MAIL_SUBSCRIBE Event type within a recent timeframe.
To use this trigger, search for the "Has an event" ready-built search block in the customer segmentation tool.

Then fill in the "MAIL_SUBSCRIBE" Event type and any other variables you want. Please note: you can customize the search blocks to suit your needs best.

An example of advanced customizing the search would be to further filter based upon a mailing_lists value to send more targeted welcome messages depending on the subscription type.

The second trigger scenario can be used when you need a bit more accurate segmentation, for example if you have very different profiles in your customers database and want to only target a specific kind. This could be a nice way to send your new welcome message to existing customers who never received a warm welcome!

The last trigger scenario is based on the profile being "new".
There are two ways to define a "new" profile in Custobar: the first one uses date_joined which is a field you control. Send us the timestamp and we will treat it as the date someone joined your brand's customer base.
The second uses cb_created_at which is a field available for any profile, and is controlled by Custobar. We give it the timestamp of when the profile was actually created in Custobar regardless of the existence or value in date_joined.
To sum up: If you create a customer profile today, you can give it a date_joined timestamp showing they were customers for years and years, and cb_created_at will still show the profile was created moments ago. Convenient!

Once the trigger is selected, pick your channel and create an automated campaign with our dedicated guide. Easy!
Of course the examples above discuss a generic message, and while most of us think "Welcome email", the best messages are sometimes delivered via just the right channel to further build this relationship of understanding and care. If SMS is the right channel for a warm welcome, you can easily adapt those triggers to dispatch an SMS. For more information, please have a read of our automated SMS guide
Hopefully this guide will help you set up the first of many automations in Custobar, as always if you have any questions please reach out to our Customer support.