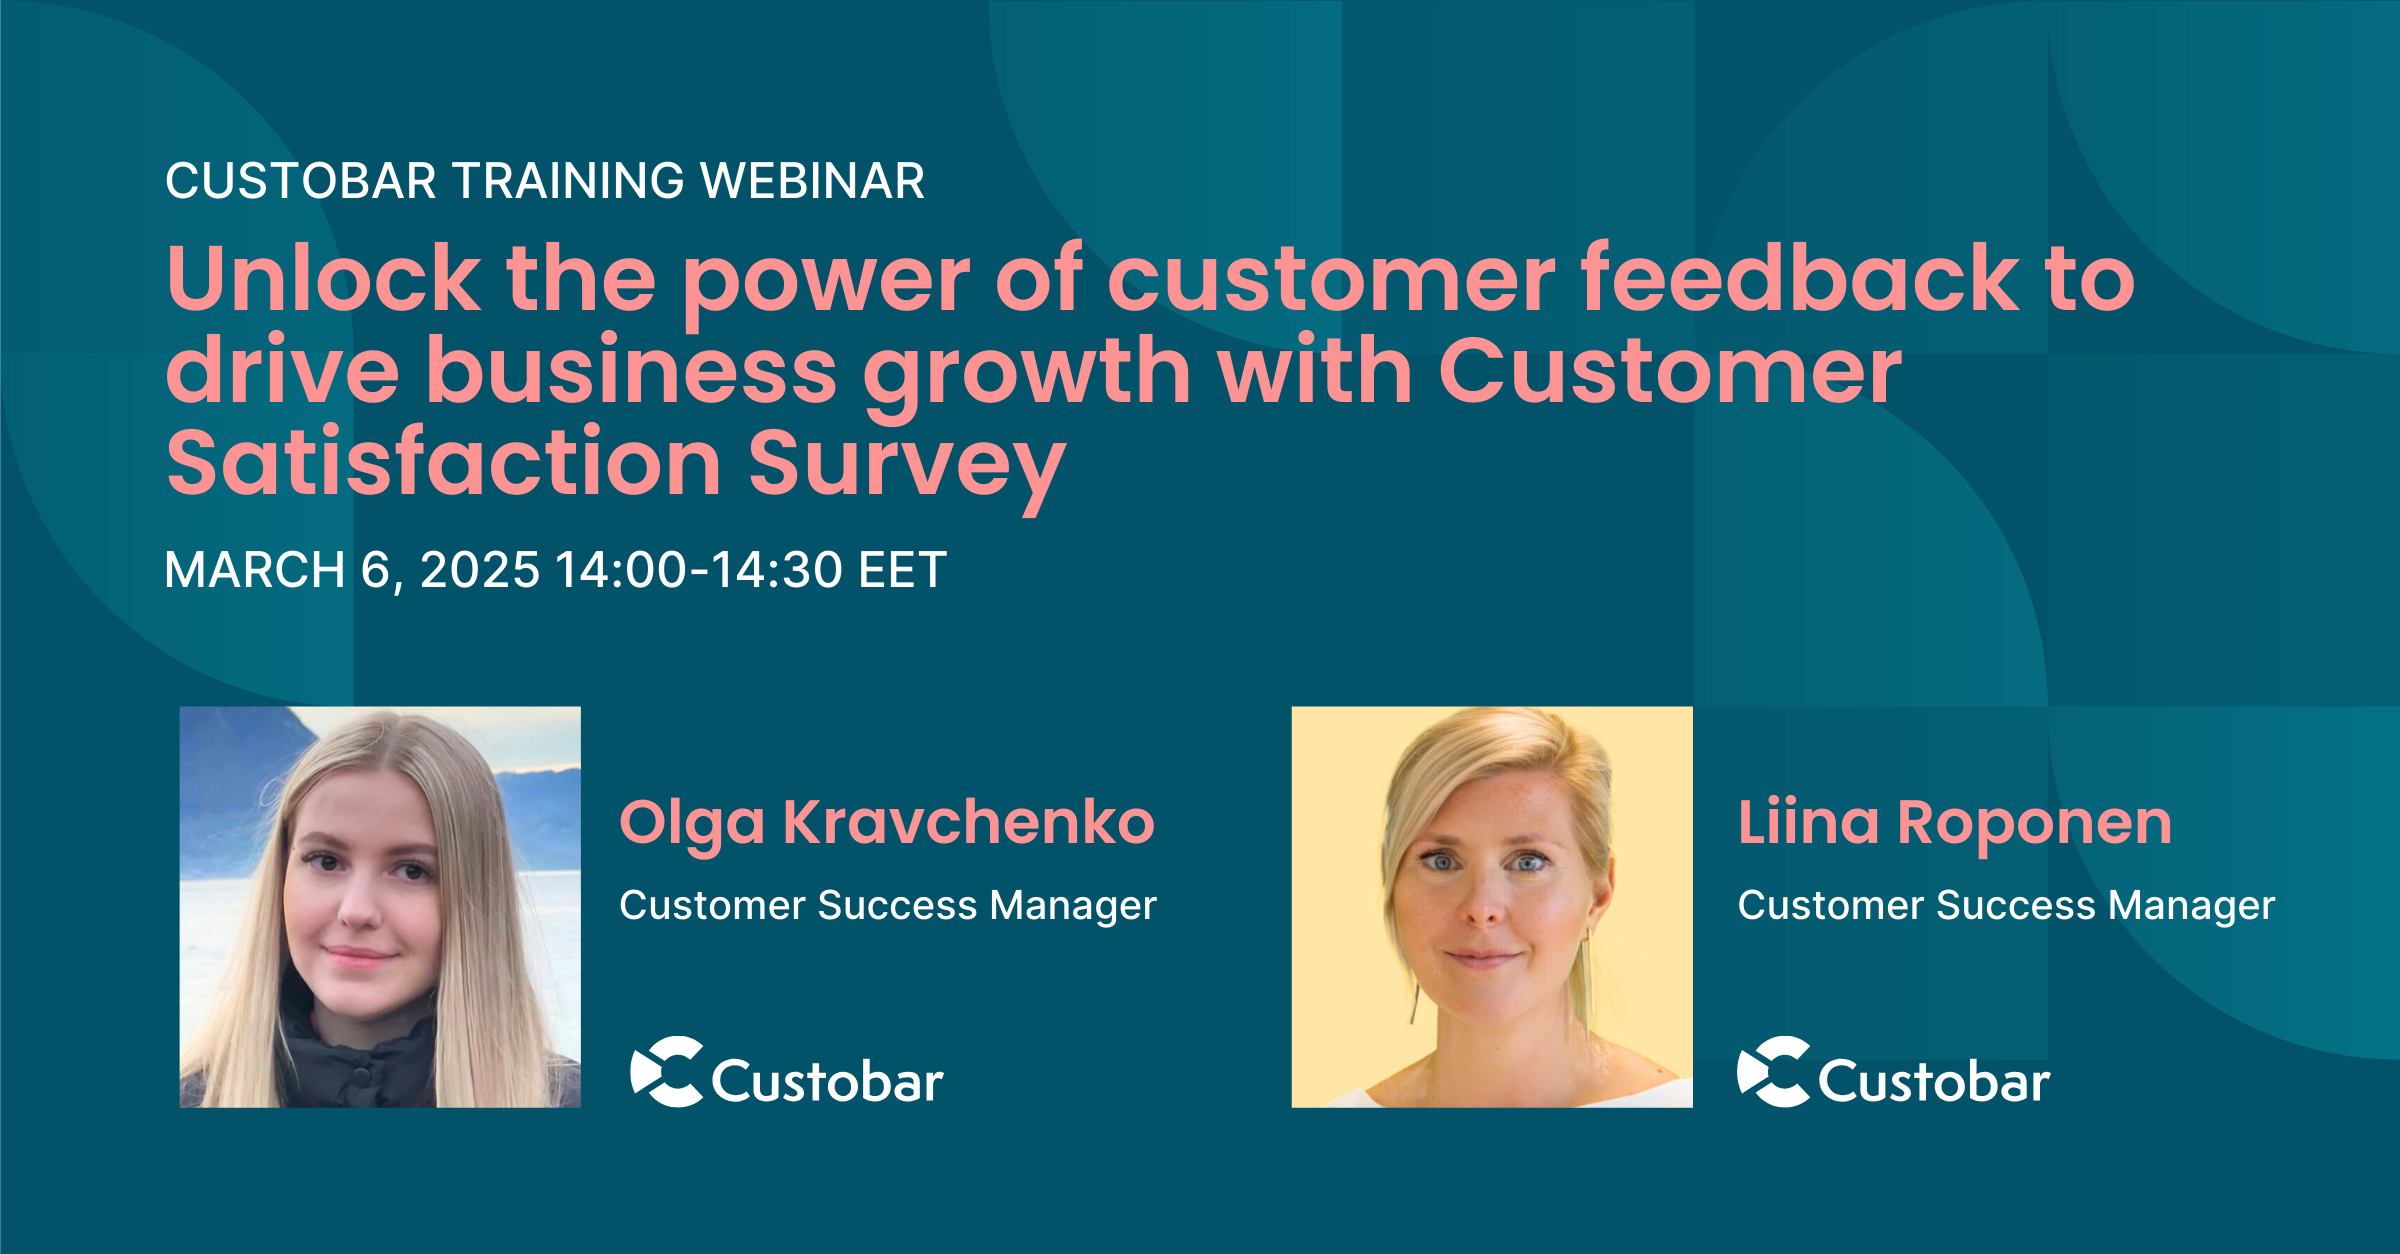
Unlock the power of customer feedback to drive business growth with Customer Satisfaction Survey
Join our webinar to discover how leveraging Customer Satisfaction Survey can provide continuous, actionable insights to boost your customer experience.

Join our webinar to discover how leveraging Customer Satisfaction Survey can provide continuous, actionable insights to boost your customer experience.

User guides
Custobar.js tracking script allows you to send custom and standard customer events from your website to Custobar. These events might be for example subscriptions to mailing lists, leaving feedback, making a product rating or using a customised widget on your page.
This article teaches you on how to use the Custobar.js to send any events you like to Custobar and then use them as a part of the targeting criteria.
As an example, we will create a mailing list subscription form, which subscribes the customer to my-list mailing list.
As the first step, you'll need to add Custobar.js to your page. There are two ways to do it as described in the Custobar.js tracking script article.
The first way is to go to Custobar Settings / Tracking and copy the embed code from there directly to your web page. The second way is to use the Google Tag Manager as described in the article.
To subscribe a customer to a mailing list, we will need to know their email address. Thus a form is required. Here, the form has a single email input field and a button.
Using the HTML5 input type email helps us to validate the email address.
<form id="mailing-list-form">
  <p>Subscribe to our mailing list!</p>

  <label>
    <span>Email</span>
    <input type="email" name="email" />
  </label>

  <input type="hidden" name="mailing_lists" value="my-list" />
  <input type="hidden" name="type" value="MAIL_SUBSCRIBE" />
  <input type="submit" value="Subscribe" />
</form>
Notice that we added two hidden fields to the form also. These fields contain additional information for your event, and are collected when the customer submits the form.
Following this pattern, you can create your own forms with custom fields, such as the star rating or any other options.
To send the data to Custobar, we will need to use JavaScript to capture the submit DOM event of the form and create the payload for our Custobar event. Add a <script> block into the <head> section of the page with the following contents.
document.addEventListener('DOMContentLoaded', function() {
  const form = document.getElementById('mailing-list-form');

  form.addEventListener('submit', function(e) {
    e.preventDefault();

    const data = {
        _options: { anonymous: true }
    };
    const fields = form.elements;

    for (let i = 0, f = fields[0]; i < fields.length; i += 1, f = fields[i]) {
      if (f.name) {
        data[f.name] = f.value;
      }
    }

    window.cstbr.push(data);
  });
});
The code above finds the <form> element with identifier "mailing-list-form" and attaches a listener to its submit event. When the customer fills out the email field and either presses enter or clicks the submit button, the event handler is called.
It is also important to include this part also seen in the script above:
    const data = {
        _options: { anonymous: true }
    };
Since this makes sure that the events are sent in to Custobar without connecting the subscription to the customers cookie. But instead sending it in as a brand new email subscription for the email addess given.
Our event handler collects all named input values from the form, packs them into the data and uses the push method of Custobar.js tracking script to dispatch the event.
Making sure the event is received
In this example we are using a standard Custobar event. However, you may send events of your own to Custobar. To receive these events, you'll need to configure them as accepted events in the tracking configuration. To do that, go to the Settings / Tracking and add the events to the list of allowed events to let them through.
Additionally, you will need to add your website to the whitelisted event sources on the same tracking page, to make sure that all subscriptions events come from your website.
Even though we sent the subscription information to Custobar, the customer did not get any feedback on the event.
To provide feedback we can resort to a simple trick of showing and hiding elements. Add the following HTML fragment to your page.
<p id="mailing-list-feedback" style="display: none">
  Thank you for subscribing!
</p>
Notice that the paragraph element is initially hidden. To show the thank you message in response of customer subscribing to the mailing list, lets hide the form and show the thank you message. Add the following code after the line window.cstbr.push(data);.
form.style.display = 'none';

document.getElementById('mailing-list-feedback').style.display = 'block';
This article taught you how to use Custobar.js tracking script to send an event to Custobar. You may build on this example to send your own custom events to enrich the information on the customers to provide them even better service in the future!